
"Quilting Wonky-ness": what is it and how do we fix it?
Hey Quilters!
Well it has been awhile! So much has happened since my last blog post - got a contract job with Bernina, opened up a DQS location, added employees to help me.. it’s been a bit of a whirlwind! BUT, I am back and hopefully going to get into a grove with this whole blog thing again!
This weekend I worked on and finished a very large quilt (96x96), which if you’ve made one that size you know adding those borders/rows together can be challenge. As I was building it I realized that somewhere along the way my quilt became a little wonky - like my top/bottom/middle weren’t exactly the same size anymore. I have noticed this as an issue while working on quilts at the studio and have realized that maybe some discussion on the why and how this happens would be helpful. I didn’t even realize that I had gotten my pieces so off course until I needed to add a border that had a specific measurement and was “supposed” to fit (and didn’t).
So, here are a few things that I have found can lead to “wonky-ness” in our piecing:
Inaccurate cutting - this can happen if we’re cutting long or large pieces, or if we have folded our fabric in order to cut layers at a time. Or if you’re trying to cut quickly (raises hand ;P ) and your ruler slips a little.
Inconsistent seam allowance - this one I have seen quite a bit where maybe you’re sewing quickly (yes, me again!) and things shift a little so you have more seam allowance in one place over another. Or you have a lot of small pieces going together to make up a larger strip and you get a little off - then it compounds to a bigger issue. Or you just don’t have the right foot on your machine for a consistent seam allowance. This one can really compound over time.
Poor pressing - ok i’ve also been a victim of my iron operating out of my control - crazy appliances! Pressing poorly can really make a mess of things, especially if a seam doesn’t get pressed fully over or open because it eats up more of your fabric.
Not checking sizes/squaring as you go - OK, so this is a BIG one and one that I fully admit to skipping in the past (and sometimes now - shh! do as I say, not as I do!). Sometimes the pattern writer does not give dimensions for sections as you go so you’re not quite sure how big they’re supposed to be. Sometimes you just want to get to the next step. Both of these can cause major issues when you are doing the final assembly of your quilt though.
Ok, so now we know where things can veer off course. How do we get them back in order so that our quilt comes out flat, square and less likely to make our longarm quilter (or ourselves) cry during the quilting process?
Take your TIME - take your time cutting, sewing and pressing. I know this seems “too simple” but I have been there. In my experience when I take the time to cut a single or maybe double layer at a time instead of stacking things up my cutting is so much more consistent. When I take the time to pin or clip or just in general make sure my pieces are lining up while I’m sewing I have much greater success with points matching or corners lining up. When I am pressing my pieces with my iron I try to be aware of not pushing or pulling or stretching my fabrics as I work.
Also, lets remember we are spending our hard earned money and time to make this quilt right? Let’s enjoy the process and give ourselves the time to create a quality end product!
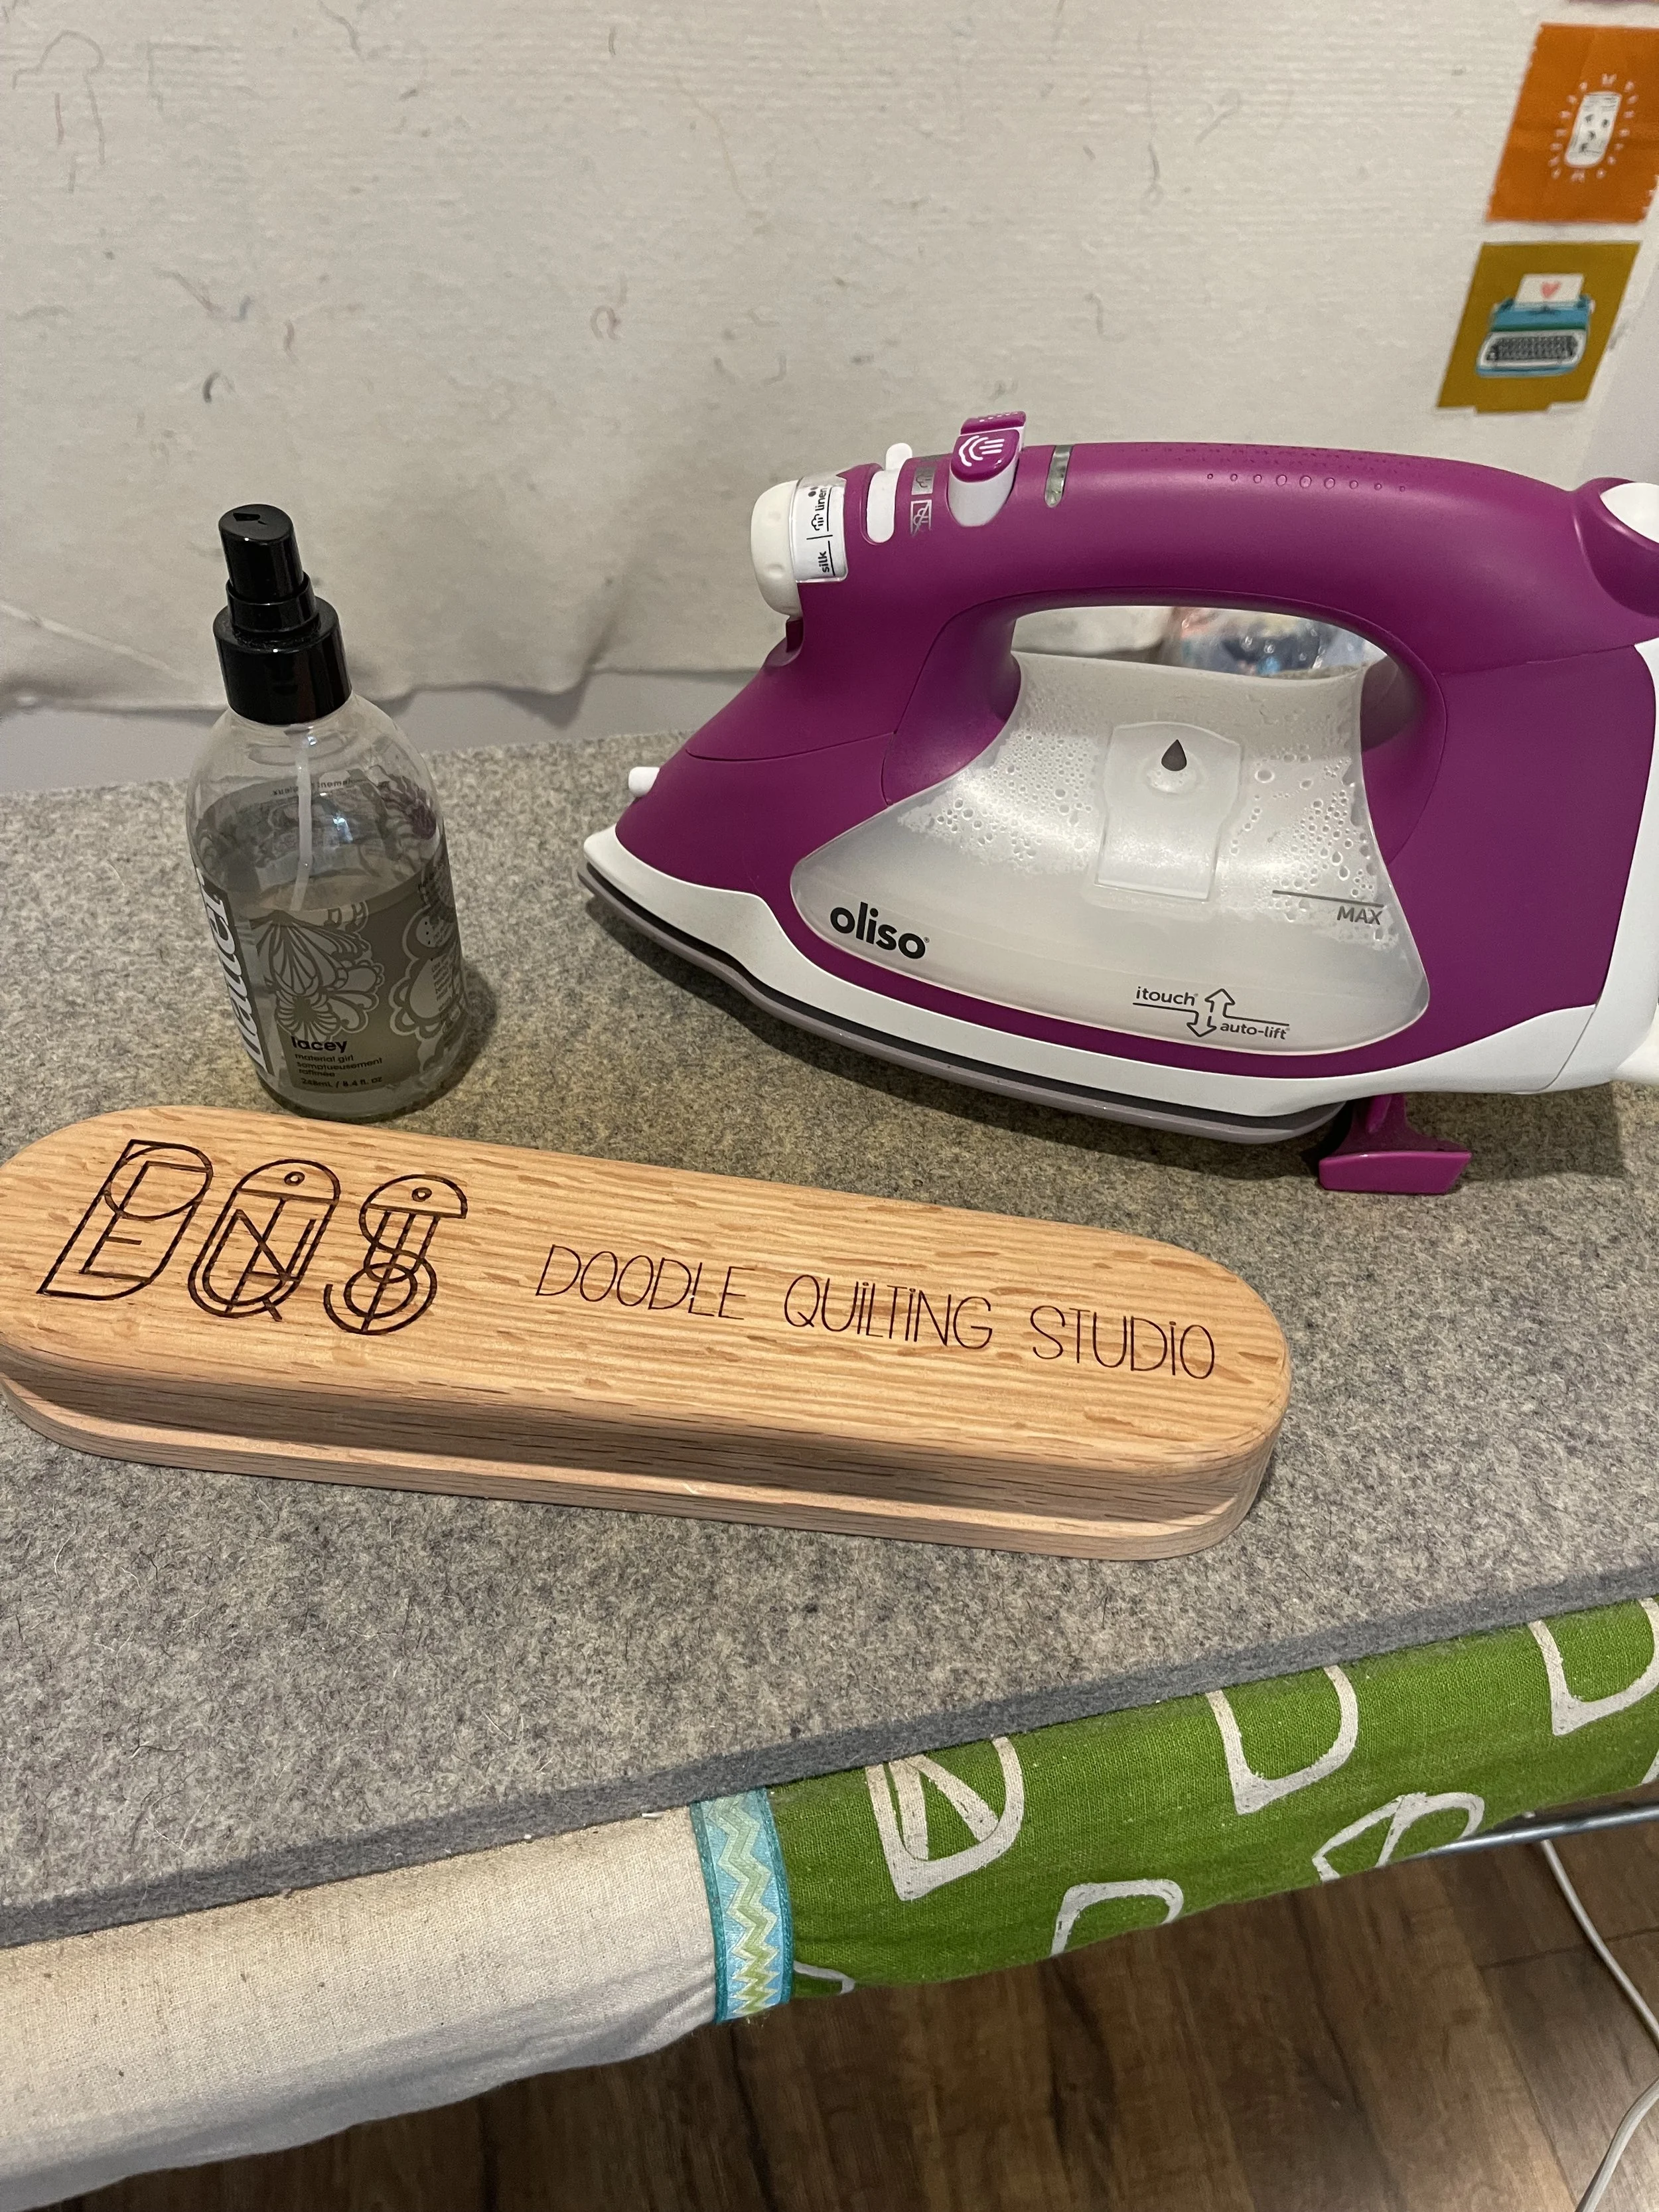
NOTE: A few tools I have found helpful for pressing are a wool pressing mat, spray starch and a Clapper (a heavy wooden tool that you place over your seams to flatten them).
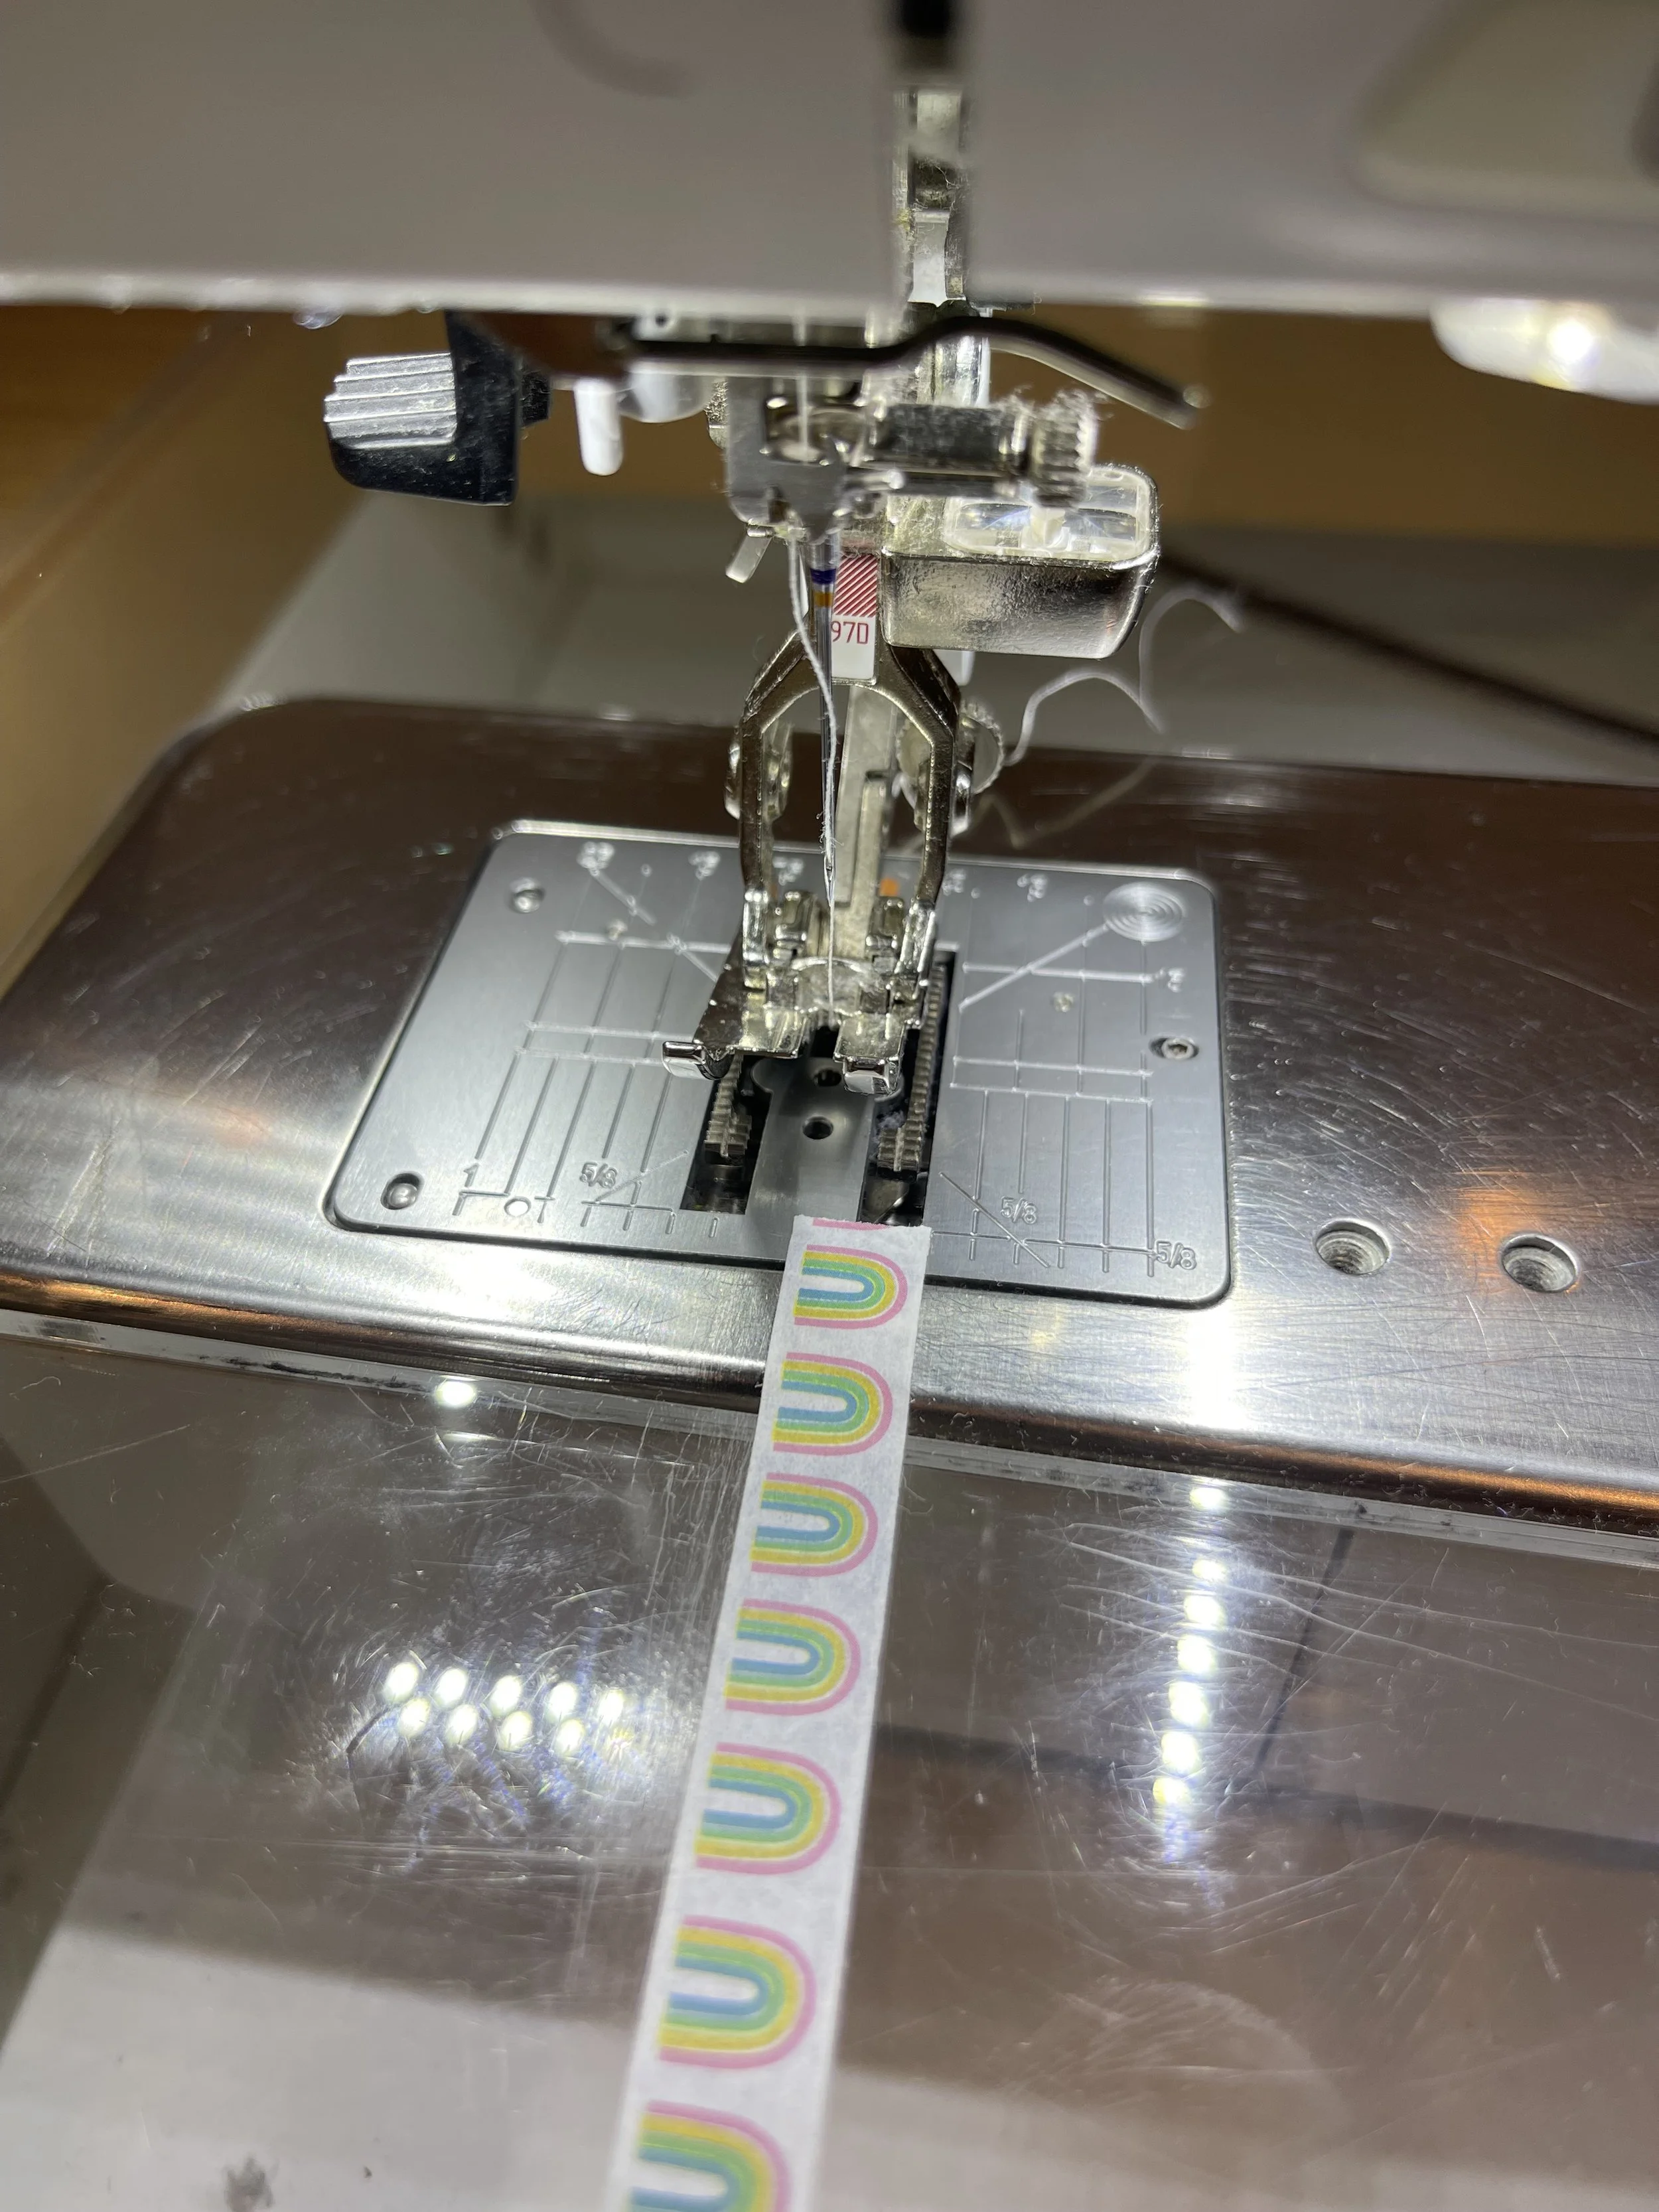
2. Set yourself up for seam allowance success - this can mean having a 1/4” foot for your sewing machine or marking your sewing tray with a pieces of washi tape at the 1/4” line. This insures that you know where you need to place your fabrics for consistent seam allowances. Almost every sewing machine brand has a specific 1/4” foot or quilters foot or something along those lines that is designed to do a 1/4” seam.
3. Squaring blocks as you go - Ok, I think this is SO important. In order for your quilt to come together flat and proper size you need to square up your blocks as you build your quilt. So, you sew up your blocks or block components (ie: HST or block element you’re going to build off of) and then you need to stop and square them. Measure them all, make them the same size (check if the pattern writer tells you the size they should be) and trim them down to be the same. Now if you end up with some blocks and are way too big or too small that could mean you need to go back and check that you cut the pieces all the same size and that your seam allowance was consistent.

A spinning rotary mat can help with the square process so nicely, no picking up your block to rotate it. Marking your ruler at your trim line can help you too so it is more obvious where you need to trim.
4. Measure your Borders - This one is probably the most obvious place where folks don't take the time to do properly. No lie, I’m right there with you! You’re at the end of the quilt, it is so tempting to just get those borders on and be done. BUT, this is where your longarm quilter is going to notice most often that your quilt is not square. When you just add your borders and cut off the extra you’re just compounding the issue if the middle of your quilt is not square. So, typically a pattern designer will tell you what size to cut your borders. If so what you can do is pin both ends and the middle and ease in any difference (hopefully not too much) to help get your quilt back to the size it is supposed to be.
Now, if you are way off (like I was on the quilt I just finished) you might have to be more creative on how you fix this. So, in my case my problem started with my log cabin like center which didn’t end up the right overall size, so my HST blocks that I added around it were too long. My remedy was to just trim a bit off my end HST block and shorten my end squares on the border I was attaching to it. Because my pattern was pretty forgiving it wasn’t super noticeable and it got me back on track so when I added the next border the measurements the pattern designer gave me fit how they were supposed to. So, let me back up. When I realized that my quilt wasn’t coming out “square” I measured my center points and did my “fixes” to get the next border to meet that measurement. Basically I had to figure out how to get some of the “extra” length out of the top and bottom edges of my quilt, which I did by making my next border the right size and easing it on to my wonky border.
WHEW - I really hope that made sense! ;P
Hopefully these tips can help you achieve the desired accuracy in your quilting leading to those beautiful flat, square and ready to quilt tops! This is one of those blog posts that I’d like to turn into a video tutorial at some point, so if you’d like to see that let me know and I’ll get to work. I always think about it when I come across a quilt that needs a little extra TLC while on my frame. One of these days I’ll just get the camera out and do a quick video on some of these tips!
I hope you’re all enjoying your weekend and getting some piecing, sewing or quilting in! We have a rare sunshine day here (though it’s only 45) so maybe I’ll venture outside for some Fall quilt photos?!
Happy Quilting,
Enjoli :)
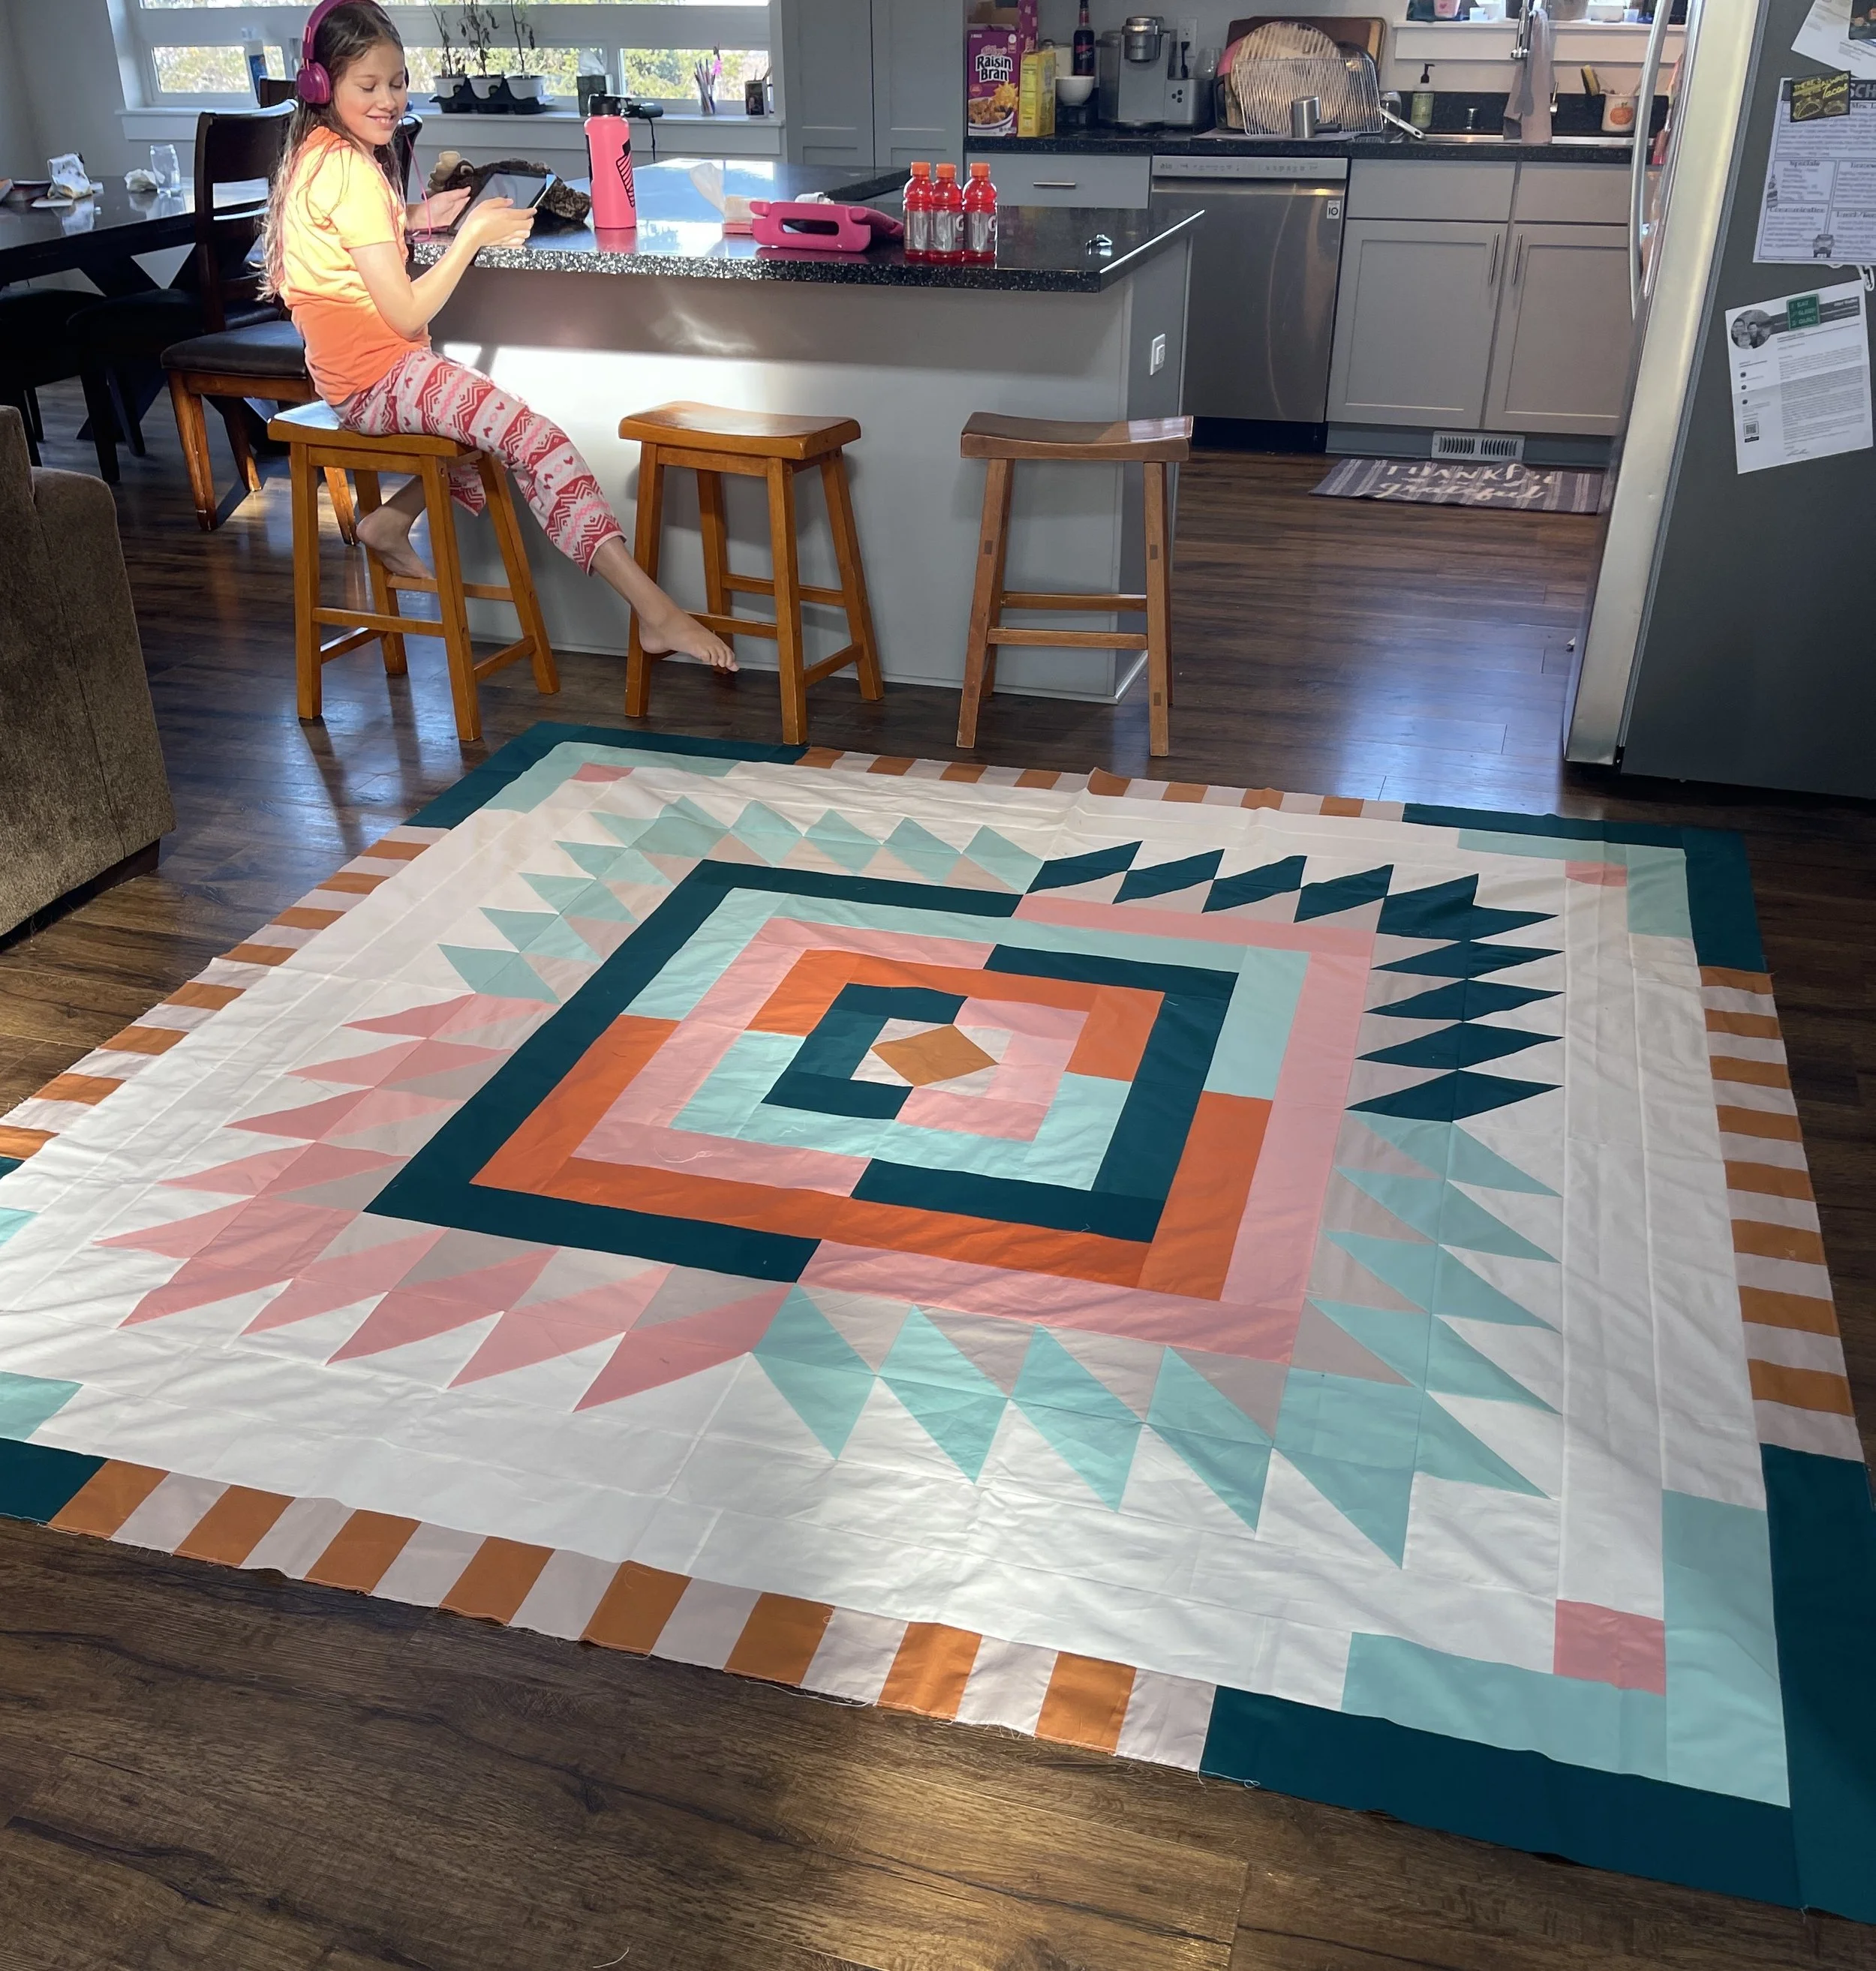
P.S: This is the quilt I finished! My helper wasn’t super helpful for this photo! ;P